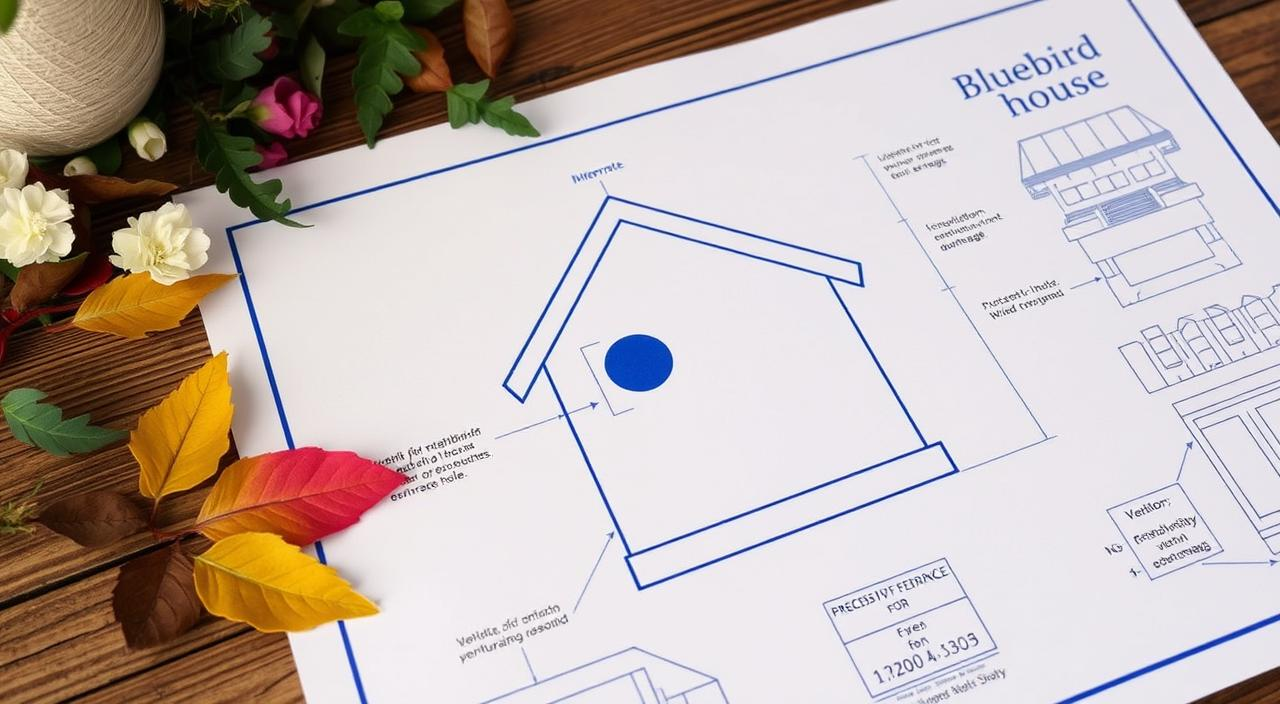
These bluebird house plans give you practical, field-tested specs: entrance hole size, interior dimensions,
ventilation/drainage, clean-out access, and placement rules that help bluebirds nest safely—while reducing problems
with competitors like house sparrows and starlings.
It does not include harmful trapping/poison methods or “how to kill” advice.
Quick specs for bluebird house plans (save this)
If you only remember a few things, remember these: correct entrance hole size, no perch, dry interior,
and safe placement. Entrance hole size is the make-or-break detail for bluebirds.[1][2]
- Entrance hole: commonly 1.5 in (38 mm) for many bluebird boxes; confirm species/region notes below.[1][2]
- No perch: perches aren’t needed and can help competitors—skip them.[1]
- Wood: untreated cedar or pine, about 3/4 in (19 mm) thick (insulation + durability).
- Drainage: 4 small holes in the floor corners.
- Ventilation: vents near the roofline (protected from rain).
- Mounting: open habitat; a pole + predator guard is often recommended for better outcomes.[3]
| Feature | Recommended | Why it matters |
|---|---|---|
| Entrance hole diameter | 1.5 in (38 mm) is a common standard; see species notes | Helps target bluebirds and reduce access for some competitors (depends on local species).[1][2] |
| Floor (inside) target | About 5 in × 5 in (≈127 mm × 127 mm) | Room for a brood without “up-sizing” the box unnecessarily.[2] |
| Hole height above floor | About 6 in (≈152 mm) to hole center | Adds a bit of protection vs. reach-in predators; also supports nest placement.[2] |
| Mounting height | Often ~4–6 ft (1.2–1.8 m), depending on local guidance | Balances monitoring access and practical placement; check your local reference if unsure.[1][2] |
Plan A: Standard bluebird house plan (most reliable)
This is the “do-it-once, use-it-for-years” build: durable, easy to clean, and aligned with widely used bluebird guidance
(entrance sizing + interior space + ventilation/drainage + open placement).[1][2]
Materials
- Untreated cedar or pine boards (recommended thickness: ~3/4 in / 19 mm)
- Exterior-grade screws (or galvanized nails)
- 1 small hinge + a simple latch (for a clean-out side or roof)
- Optional but recommended: predator guard system for the mounting pole[3]
Tools
- Measuring tape, pencil, square
- Saw
- Drill + bits
- Hole saw: 1.5 in (38 mm) (or local recommended size for your target species)[1][2]
- Sandpaper or file
Cut list (inches + mm)
Board widths vary. The priority is the interior target (about 5″×5″) and correct hole placement.
This cut list is a dependable “standard box” layout using common boards.
| Piece | Qty | Size (in) | Size (mm) | Notes |
|---|---|---|---|---|
| Back | 1 | 12 × 6 | 305 × 152 | Extra height for mounting. |
| Front | 1 | 9 × 6 | 229 × 152 | Entrance hole centered left-right. |
| Sides | 2 | 9 × 6 (front), 10.5 × 6 (back) | 229 × 152 (front), 267 × 152 (back) | Cut a simple roof slope (angled top edge). |
| Floor | 1 | 5 × 5 | 127 × 127 | Drill 4 drainage holes near corners. |
| Roof | 1 | 8 × 7 | 203 × 178 | Include overhang to reduce rain entry and sun exposure.[2] |
Assembly steps (clear + beginner-friendly)
- Mark the entrance hole. On the front piece, mark the hole center about 6 in (152 mm)
above the interior floor line (measure from where the floor will sit).[2] - Drill the entrance hole. Use a 1.5 in hole saw for many standard bluebird setups,
unless your trusted local guide recommends otherwise. Smooth the edges to prevent scrapes.[1][2] - Add drainage. Drill four 1/4 in (6 mm) holes in the floor corners.
- Add ventilation. Drill two small holes near the top of each side panel, or leave a thin gap under the roofline
(keep it protected from direct rain). - Fasten sides to the back. Pre-drill to prevent splitting; use exterior screws.
- Install the floor. Keep it snug and square.
- Attach the front. Do not add a perch. Bluebirds do not need it, and competitors benefit from it.[1]
- Create a clean-out. Best options: a hinged side panel or a hinged roof with a secure latch.
Easy clean-out supports responsible box care and monitoring.[3] - Mount the roof with overhang. Overhang helps reduce rain entry and overheating risk.[2]
- Finish safely. Keep the interior raw wood. If you paint, paint only the exterior and let it cure fully before installing.
Fledgling grip tip (no perch needed): Lightly score the inside front panel below the hole
(or add a thin strip of rough wood) so fledglings have traction when they climb out.
Plan B: One-board “weekend” bluebird house plan (easy build)
A one-board build can work well if you keep the entrance hole size and interior space within proven ranges
and still include drainage, ventilation, and a clean-out. Use Plan A’s hole placement and the same “no perch” rule.[1][2]
- Pick a straight, untreated board (cedar or pine; avoid treated lumber).
- Prioritize: correct hole diameter, no perch, dry interior, easy clean-out.
- If your board is thinner than ~3/4″, consider adding a thicker front panel (helps reduce overheating and improves durability).
Species notes: Eastern vs Western vs Mountain bluebirds
Most “bluebird house plans” are compatible across species, but entrance hole diameter can vary slightly by guidance and region.
Many reputable bluebird resources list 1.5 in as a common standard, and some plans discuss slightly larger options in certain contexts.
Use your local, trusted guidance if competitor pressure is high.[1][2]
Quick decision rule
- If you’re unsure: start with 1.5 in (38 mm) and monitor occupancy.[1][2]
- If starling pressure is high: avoid “upsizing” without local guidance (bigger holes can invite bigger problems).
Accuracy note: “One hole size fits all” can be misleading. Always cross-check with a trusted bluebird program or university extension for your area before changing entrance size.
Where to place a bluebird house (mounting, direction, spacing)
Perfect construction won’t help if the box is installed in the wrong habitat.
Bluebirds generally prefer open areas where they can hunt insects—short grass, open edges, pasture-like areas.
NestWatch and bluebird programs emphasize “right habitat” plus practical mounting for monitoring and protection.[2][3]
Placement checklist
- Mounting height: often around 4–6 ft (use local guidance if available).[1][2]
- Habitat: open area with low vegetation; avoid dense woods.
- Direction: many guides suggest facing away from prevailing wind/rain; east/southeast is commonly recommended when feasible (local climate matters).[2]
- Mount type: a pole is often preferred because it works well with predator guards and is easier to monitor safely.[3]
Spacing: Bluebird “trail” spacing depends on habitat and local competition. If you’re setting up multiple boxes,
consult your local bluebird group or NestWatch guidance and adjust based on what you observe in your yard/trail.[3]
Predator & competitor control (safe + legal)
The goal is prevention: correct hole size, smart placement, and a pole-mounted predator guard system.
These are widely recommended strategies for better nest outcomes.[2][3]
Predators: what helps most
- Predator guard/baffle on the pole (highly recommended).[3]
- Keep the box away from jump points (overhanging branches, fences nearby).
- Don’t oversize the entrance (common “accidental mistake”).[1][2]
Competitor birds (house sparrows / starlings)
Competitors can take over nest boxes. The approval-safe approach is:
use correct box specs, monitor responsibly, and follow reputable nest monitoring guidance.
Always follow local wildlife laws and ethical best practices.[3]
Stick to prevention, lawful guidance, and local program recommendations.
Maintenance & monitoring (the part most plans forget)
A nest box is not “set and forget.” Monitoring and annual cleaning are part of responsible bluebird housing.
NestWatch provides clear do’s and don’ts (including minimizing disturbance).[3]
Annual cleaning
- Clean after the nesting season ends (timing varies by region).
- Remove old nesting material; brush out debris.
- Repair loose screws/hinges; confirm the roof is weather-tight.
Quick monitoring rules
- Check briefly and consistently (don’t linger).
- Avoid checking in extreme cold/heat or during sensitive moments.
- Record what you see; it helps you improve placement year over year.[3]
FAQ
What is the best entrance hole size in bluebird house plans?
Should I add a perch to a bluebird house?
No—perches aren’t needed for bluebirds and can help competitors or give predators more advantage.[1]
What’s the best mounting method?
A sturdy pole mount is often preferred because it works well with predator guards/baffles and makes monitoring easier and safer.[3]
How often should I clean a bluebird house?
At minimum, clean and inspect once per year after the nesting season ends. If you monitor regularly and find old nests after a brood has finished, cleaning between nesting attempts can also help—follow local guidance and minimize disturbance.[3]
Sources
- Virginia Cooperative Extension — “Bluebird Nest Boxes” (dimensions, entrance hole sizing, placement basics).
View source - North American Bluebird Society — “Factsheet: Nestboxes” (standards, hole sizes, construction notes).
View source - Cornell Lab of Ornithology (NestWatch) — “Nest Box Placement” / monitoring guidance.
View source